How To
Importing Network Certificate
The OBIE provided Network Certificate and Key needs to be imported to the machine which will be used via a browser to access our Sandbox APIs. Make sure you have your Network Certificate (certificateFile.pem) file and Private Key (privateKey.key) file.
Firstly, create a .pfx certificate file using OpenSSL. More details on how to create this can be found here. The following steps will cover for macOS and Windows OS.
Importing certificates on macOS
The below steps will tell you how to import a certificate on a MAC
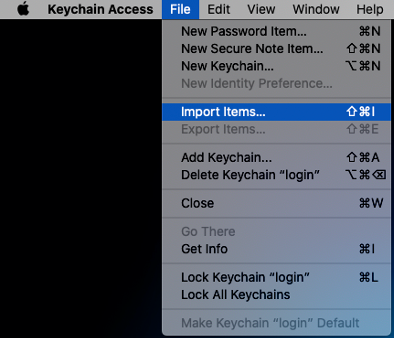
- Start by opening Keychain Access which can be found using the Finder
- Within the Keychain Access menu select File > click Import Items
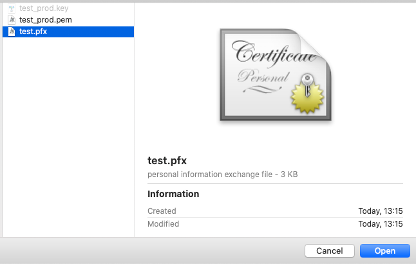
- Browse for your file and select ‘Open’
- Browse to and select the .p12 or .pfx file that you have created to import it
- Enter the password that you created when you created your .p12/.pfx file
- All done! You have just imported your certificate
Importing certificates on Windows OS
The below steps will tell you how to import a certificate on a Windows device.
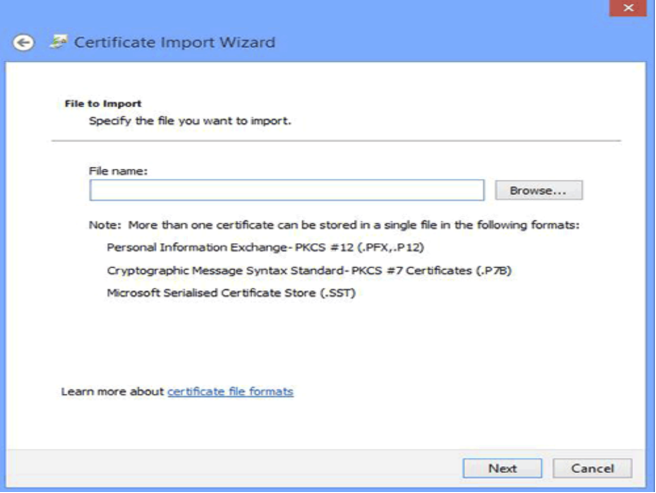
- Access the Certificate Import Wizard via Google Chrome settings.
- Browse to and select the .p12 or .pfx file that you have created and select Next.
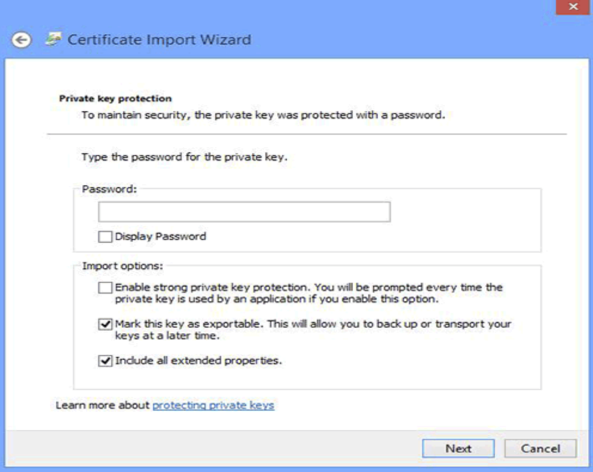
- Enter the password you entered when you created your certificate in the password field and select Next.
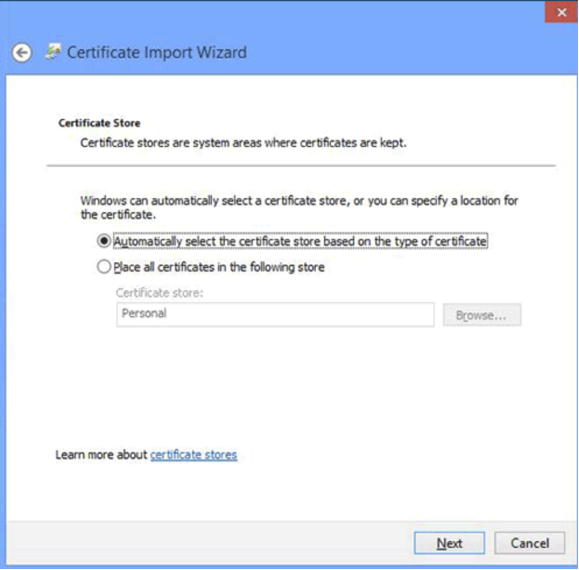
- Let the certificate import wizard determine the best place for installation by selecting the radio button highlighted below and then select Next.
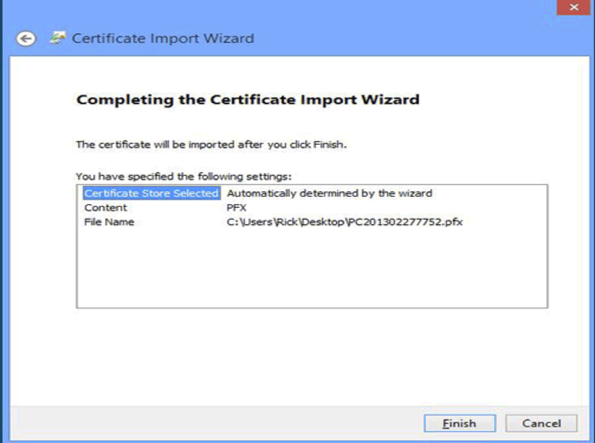
- Click on Finish
- All done! You have just imported your certificate